How to remove light swirl marks by hand quickly and safely. Discover easy tips, tools & techniques to restore your car’s shine at home.
How to Remove Light Swirl Marks by Hand – The Foolproof Guide 🚗✨
Ever looked at your car under sunlight and noticed those spiderweb-like scratches dancing across the paint? You’re not alone—and yes, those annoying marks are called swirl marks.
Here’s the good news: You don’t need a machine buffer or pro detailer to fix them. You can restore your car’s glossy finish with just a little time, elbow grease, and the right method.
Let’s break it all down step-by-step so you can confidently remove light swirl marks by hand—without damaging your paint or wasting money.
What Are Swirl Marks and Why Do They Happen? 🌀
Swirl marks are fine, circular scratches that show up on your car’s clear coat. They’re most visible under sunlight or bright lights and often caused by:
- Improper washing techniques
- Dirty or low-quality towels
- Automatic car washes
- Dry wiping dusty surfaces
Think of them as micro-scratches from friction—like brushing sandpaper lightly over glass.
Can You Remove Swirl Marks by Hand? Absolutely! 💪
Yes, you can remove light swirl marks by hand—if they haven’t cut too deep into the clear coat. The trick is using the right products, technique, and patience.
“Hand polishing is less aggressive, making it safer for beginners and ideal for spot-treating small areas.”
If the swirls are very deep or widespread, though, you may need professional help or machine polishing. But for light swirls? Let’s do this yourself.
Tools & Products You’ll Need 🧰
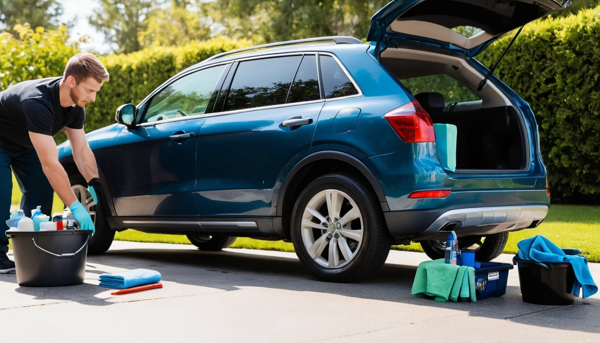
Before we dive into the process, gather your swirl-fighting toolkit:
| Tool/Product | Purpose | Recommendation |
|---|---|---|
| Microfiber Towels | Safe wiping & buffing | Soft, lint-free, high GSM microfiber |
| Dual-Purpose Applicator | Hand polishing | Foam or microfiber pad |
| Swirl Remover Polish | Removes light scratches | Non-abrasive, clear-coat safe formula |
| Clay Bar Kit | Surface prep | With lubricant included |
| Car Shampoo | Removes dirt & debris | pH-balanced and wax-safe |
✅ Optional: Isopropyl alcohol (IPA) for final wipe-down to inspect results.
Step 1: Start With a Proper Wash 🚿
Washing your car correctly is the foundation of swirl-free paint.
Here’s how to do it right:
- Rinse off loose dirt first.
- Use the two-bucket method (one for soapy water, one for rinsing).
- Use a soft wash mitt, not a sponge or rag.
- Work from top to bottom.
- Rinse thoroughly and dry with a clean microfiber towel.
🚫 Never dry your car with an old bath towel—it causes micro-marring!
Step 2: Use a Clay Bar to Deep Clean 🧼
Even after washing, dirt stays on the paint. A clay bar removes it for a glass-smooth surface.
How to use it:
- Spray lubricant on a small section.
- Glide the clay gently in straight lines.
- Wipe the area with a microfiber towel.
- Feel the paint—it should be buttery smooth.
✨ Prepping this way helps the polish work more effectively.
Step 3: Pick the Right Swirl Remover Polish 🧴
Not all polishes are the same. You need a fine-cut polish safe for your hands.
| Type of Swirl Remover | Ideal For | Caution |
|---|---|---|
| All-in-one Polish | Light swirls & shine | Less cutting ability |
| Dedicated Swirl Remover | Light-to-medium scratches | Choose one made for hand use |
| Compound (Heavy Polish) | Deeper imperfections | May be too aggressive |
🛑 Avoid anything labeled “aggressive” unless you’re experienced.
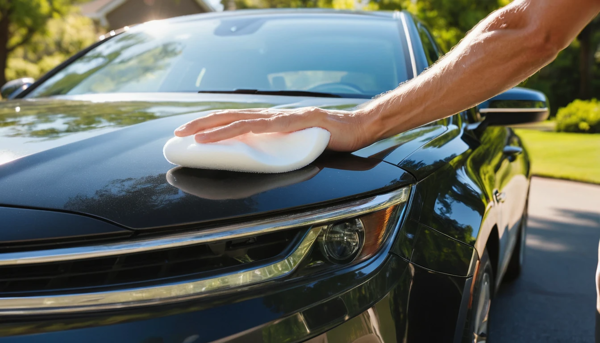
Step 4: Apply the Polish by Hand 🖐️
Now comes the fun part! Here’s your hand-polishing game plan:
- Apply a small amount of polish to your applicator pad (nickel-sized blob).
- Work in a 2×2 ft area.
- Rub the polish in circular and straight-line motions with light pressure.
- Keep going for 1–2 minutes or until the product hazes.
- Wipe off with a clean microfiber towel.
💡 Don’t overdo it—multiple light passes are better than one aggressive one.
Step 5: Inspect Your Work 🧐
Once you’ve polished a few panels, inspect your results.
Use sunlight or a flashlight to check for leftover swirls. If some remain, go over the area one more time.
For added clarity, use a 50% isopropyl alcohol/water mix to remove polish oils. This helps you see the true paint finish.
Step 6: Seal the Deal With Wax or Sealant 🧊
You just worked hard to make your paint look amazing—now protect it!
Apply a quality wax or paint sealant to:
- Lock in that mirror shine
- Prevent future swirl marks
- Make future washes easier
| Protection Product | Longevity | Gloss Level |
|---|---|---|
| Carnauba Wax | 1–2 months | Warm, deep glow |
| Synthetic Sealant | 4–6 months | Glossy & durable |
| Ceramic Spray | 3–6 months | Slick & hydrophobic |
🛡️ Don’t skip this step—it’s your swirl-free insurance policy.
Common Mistakes to Avoid ❌
Don’t fall into these swirl-causing traps:
- Using dirty rags or pads
- Polishing in direct sunlight
- Skipping prep steps
- Using too much pressure
- Not changing microfiber towels often
When in doubt, go gentle. Light swirls need finesse, not force.
How Often Should You Remove Swirl Marks? 🔁
Not often! With proper care, swirl removal is a once or twice-a-year job.
Focus instead on preventing swirls:
- Use touchless wash methods
- Always pre-rinse your car
- Dry using soft, clean microfiber towels
- Avoid cheap car wash brushes
A swirl-free finish is more about maintenance than constant correction.
Final Thoughts – You’ve Got This! 🏁
Getting rid of light swirl marks by hand may seem intimidating, but it’s totally doable—and worth the effort.
You’ve learned:
- What causes swirl marks
- The exact steps to fix them
- What products to use
- How to protect your hard work
So next time you catch the sun hitting your car just right, you’ll see a brilliant reflection—not a web of scratches.
Your car deserves that glossy, just-detailed look—and now you know how to make it happen.
FAQs
How do I get rid of swirl marks without a machine?
Use a swirl remover polish, a foam applicator pad, and hand-polish with light pressure after prepping the surface.
Can I use toothpaste to remove swirl marks?
Toothpaste is too abrasive and uneven. Use a product specially made for automotive clear coats.
What is the best product to remove light swirl marks?
A fine-cut swirl remover polish made for hand use is the safest and most effective.
How long does it take to polish out swirl marks by hand?
Expect to spend 1–3 hours, depending on your vehicle’s size and the number of swirls.
Is waxing enough to remove swirl marks?
No. Wax can hide minor imperfections temporarily, but it doesn’t remove them. You need a polish for that.
References
https://www.autogeek.net
https://www.torquedetail.com
https://www.detailedimage.com


Leave a Reply